Wednesday, October 9, 2013

Another round shelf project or two or three.....

Hi. I had gotten four of these round thick cardboard things from my work. I painted two of them purple for my daughter and two of them green for my oldest son. While I showed you what I did with the first one, I finished a second one and started on the two for my son.
 This time I cut a bunch of strips of paper, roughly a 1/4" wide and I used my fancy cutters, switching up the type of cuts to add a variety.
 Using my quilling tool, I rolled up a bunch of these and let them loosen out to different widths, to add variety. I glued the tip of the paper and let them dry before adding them to the shelf.
 Here I made a quilled flower about 3" big and added some rinestones and one of my Crafty Little Designs butterflies to the top of it.
 I made a second flower, and since it didn't glue very well to the shelf, I placed two of my Crafty Little Designs Spiral flower die cuts behind it.
 On each of the sides, I added a bow, a Crafty Little Designs Flower Flourish die cut and a clip of some decorative paper. My husband creatively decided to place a flame-less candle in the shelf making it glow up really nicely.
 For my son, I had to try to think of some way to decorate it with out flowers and butterflies. So I cut strips from my cardboard like paper and wrapped them around at an angle. since the strips didn't quite fit all around, I added a nice wide area of just the paper to close them together.
 For his other one, I created a checker board effect. I cut a sheet the same width as the shelf, then I measured it into four equal parts. Since my paper strips were still the 11" length of the page, I just cut them down inch by inch, surprisingly only needed to use three sheets.
More to come with Andrew's shelves. I don't have a hot glue gun yet, or had the chance to run over to the craft store and buy one. Once I do, I will be placing some old hot wheels on these with other decor.

Tuesday, September 10, 2013

Really Awesome Homemade Shelf for $0

While being a mother of three young children, the newest being only two months old; I like to find cheap and fun things to do. I really don't like spending money and love creating things. While I am running my own company, Crafty Little Designs, working full time at Cheery Lynn Designs and raising a family, it was really hard finding some time for a project.

What you need:
Dies, which ever theme of a decoration your aiming for
All kinds of pretty decorative paper
Random broken pretty things ( I have these once were shower hooks butterflies
Ribbon
Fishing wire thread
Paint
Glue, all kinds of glue depending on heavy duty you might need
Wall Braces, about two for each shelf
Something for a shelf, how about really thick cardboard circles(like I'll show you)

At work, as it is a manufacture of dies and other metal things like signs and photometals; we get in a lot of packing materials.
Something comes on these big circles made of really thick cardboard. Well I asked and took a few home.

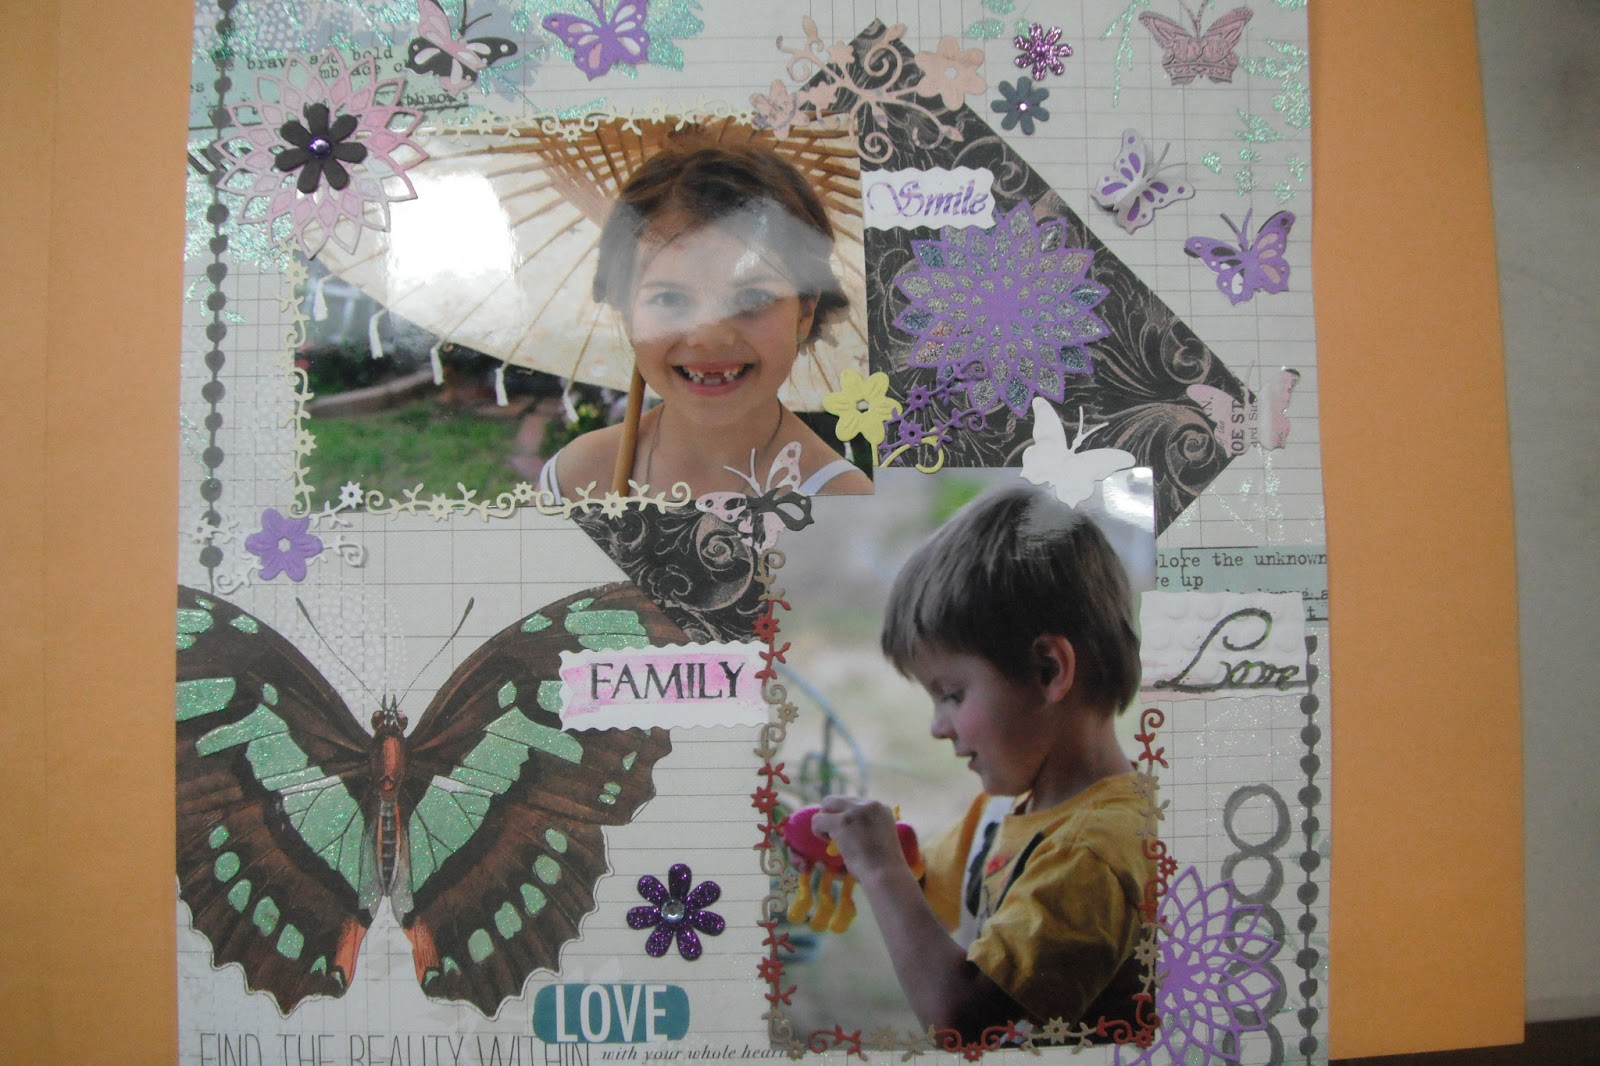
Here's a look at the finished project:
 I started off with some paint I actually picked up for free when Ace Hardware was giving away a quart of free paint. I went in and got a purple , then my husband when in and got a green. I've been using these paints on more than one project. It comes in handy getting your kids favorite colors.
 Then I cut a few strips of different ribbons and a hole bunch of dies, in all different papers. I assembled some flowers using the brads and they easily pierced through the ribbon to hold them on.
 With the thread....I used a needle and pierced through the butterflies and tied them off. Then on the front of the shelf, I sewed it to the ribbon, while on the back, I sewed it into a tiny piece of scrap paper and then glued the paper to the back of the shelf. Making sure the paper was small enough not to show past the edge.
 I used Epoxy to glue on the big broken butterflies. For everything else, I used Martha Stewart's clear craft glue.
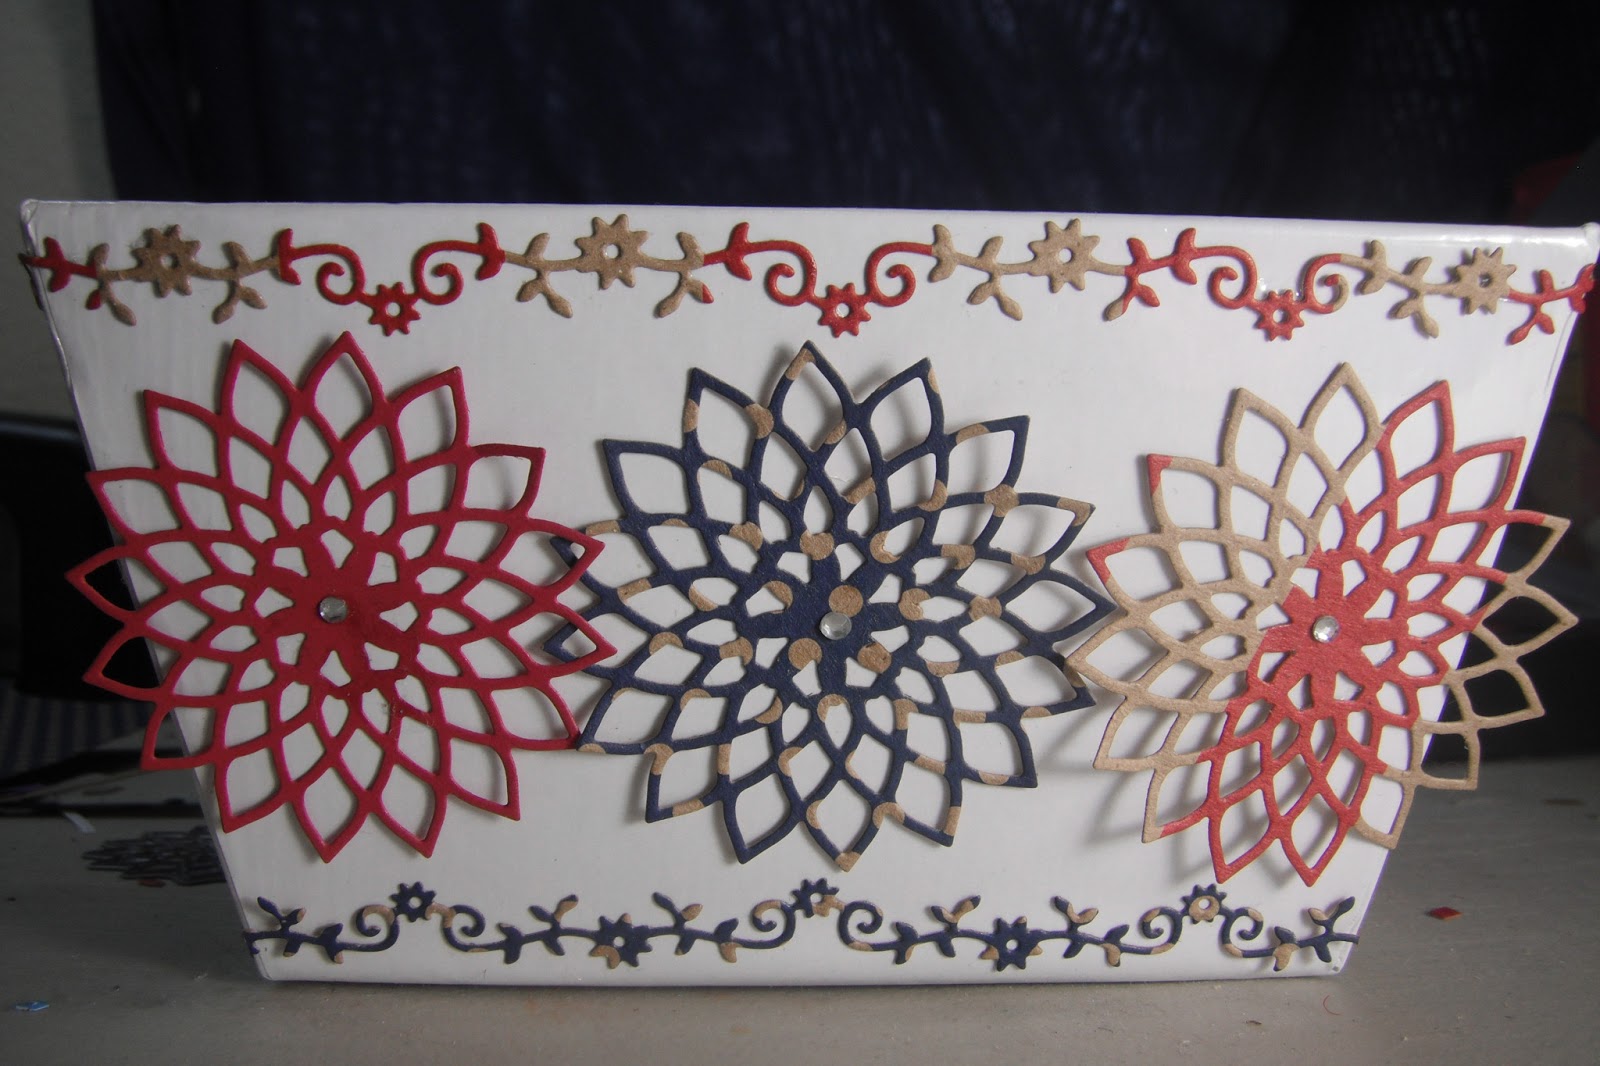
All along the top half of the circle shelf, I used my four Crafty Little Designs dies, for sale at craftylittledesigns.com.
I added embellishments throughout.
Hope you have fun making something out of nothing.

Saturday, August 10, 2013

I'm Back!

Hi fellow crafters. I have taken some time off from pushing forward with my business, to bring my newest addition to the family in to this world. I had my third child on June 24, 2013. His name is Ian Robert Wallace. His middle name is after my father and his first name was a just a last minute decision. He was the most difficult of our children to name. But he is the cutest and most handsome baby I've ever seen. He is so content and doesn't cry nearly as much as our children.

I am now finding some time to work on designs, projects, getting a design team together and more.

Stay tuned......

Wednesday, May 29, 2013

Fourth of July Chipboard container

I purchased a $1 Chipboard Container from Target in their little $1 section in the front of the store, it's always filled with craft ideas and fun little things for the kids. I took my Crafty Little Designs Spiral Flower die and Flower Border die, and some flag like themed cardboard paper.
I discovered that using a cardboard like card stock, does not allow the die to emboss it.
On the side of the chipboard container, I lined the borders along the top and bottom. The great thing about this border is that even if you trim it or just connect different strips together, it always works and matches nicely. I glued the three different Spiral Flowers along the center, adding a little jewel to add some extra flair.
On the sides of the container I put the three different papers on top of each other to create a different effect. As with the border, I wrapped a full length of the border from the front and back around the corners to the sides. I then clipped the border in a different color to match up nicely along the top. As for the bottom border, I clipped them on the stems, rather than the swirls, still having them match up with the next border.
This is a nice little craft to make for a napkin holder for your 4th of July BBQ, or make a different one for each utensil, fork, spoon and knives.

Wednesday, May 22, 2013

About Me.

Tiffany Wallace - Owner and Designer
http://www.craftylittledesigns.com
Hi. I am a wife and mother of three children. I have a Bachelor of Science in Graphic Design from The Art Institute of Pittsburgh - Online. Art and crafts have always been a part of my life. My mother, an artist herself, has always shown be great ways to make art apart of my life and to see art even in the most unlikely places. Now, with this business, I am showing her some great ways to use stamps and metal dies.
I stumbled upon paper crafting recently when I found a job at PMA Photometals/Dies Direct/Cheery Lynn Designs (all one company but three) here in Phoenix, AZ. I have always loved math and learning to take my designs but keep it with parameters where every line has to be a certain width apart and each corner a certain degree of roundness, made me feel like this is what I was looking for.
Dies are an awesome thing; I never knew they existed until I started creating them at work. I love the possibilities you can do with them. When I play with a new die, the possibilities of things to do with them just start whirling in my mind. Metal dies can also cut felt and fabric, they can take you beyond paper and be used to make your daughter a beautiful headband or use the cuts to add design to your quilt or apron. With paper you can take the die cuts and create wall pieces, mobiles, and cards, decorate an Easter egg, a memory box, scrapbooking and so much more. Quilling is also a new craft I have picked up on and I am having lots of fun rolling up and shaping and gluing my creations together.
I enjoy crafting with girlfriends and my children. As of now, while my business is still growing, the women in my family are my design team. As the business grows, I will eventually turn my stamps from clear polymer stamps (red tinted, but clear) to the clear acrylic stamps that you more often see in stores. When I make this transition, I will still be able to offer custom stamps in the clear polymer stamps.
I still currently work full time while trying to make Crafty Little Designs successful. My third child is due to be born July 1st 2013. I want to be able to better provide my family as well as spend more time with them. I thank each and every one of you that is helping my lifelong dream of having my own business come true.

Tuesday, May 21, 2013

I design for you.

I want to know what designs you are looking for. What die or stamp do you wish you had? Let me know your thoughts. I enjoy listening to others ideas and giving you what you want.

I am a graphic designer, currently working for the company that makes all of the dies for many of the companies out there. I know what is popular and what sells and am creating many designs for them. I started this company to have the freedom of thinking outside the box and creating what I want. I am still new in this industry and am learning as I go along.

I have always done crafts growing up and really enjoy them. With my third kid almost here, due next month. I want to make a better life for my family and do something that really interests me. I only discovered dies last year and immediately fell in love with the amazing things they can do. Quilling is another fascination I was introduced to recently. What else do you like to do?

Flowers and butterflies, what else could a girl need? Join in on my blog and give me your thoughts.
THANK YOU!
my store: http://www.craftylittledesigns.com

Monday, May 20, 2013

Scrapbooking page


 I wanted to create a scrapbook page showing you all of our dies.  I am also working on creating some embossing sheets and played around with that too.

 I bordered the pictures with our Flower border. It fit well in girl and boy colors.
 Each feature of the dies can be used separately as well as the whole. Here I cut off the large flower on the flower flourish and trimmed pieces off of the flower border to create my own flower.
The pink flower doily up in the corner, I placed tape, on the back of the paper, prior to cutting it with the die, so my cuts wouldn't fall out. I then pushed out only the ones I wanted to with ease.
I put three of the sentiments stamps on the page. I used Marvy markers with them, coloring the stamp and then stamping it. The word Smile, I stripped the colors then I embossed it with a circles embossing sheet I am working on. Love, I embossed it then I stamped it. The word Family fit perfectly in the banner from the Love Birds stamp set.
The white butterfly, above, I die cut it then I embossed, the picture doesn't it do it justice. The Spiral Flower, I die cut it, then I put tape across the back of it and then removed the shim (E plate) from my eBosser to just barely cut the tape. I then was able to rip the tape off cleanly around the edge of the paper, keeping it all behind it. I sprinkled a fine white crystal glitter on it and stuck to the tape. You can either then color on top of the glitter to create something bold, as I did on a few of the areas. Or simply color the back of the tape to create a stained glass effect. You can do this by using s variety of colors and randomly color blotches of them. If held up to the light, rather than on the dark paper I put it on, it stands out beautifully.
These dies and stamps are available for purchase at http://www.craftylittledesigns.com

Saturday, May 18, 2013

Free Shipping

Crafty Little Designs is offering FREE Shipping to the USA through USPS until May 31st. Bonus: If you purchase two or more items we will send you a 20% off coupon. http://www.craftylittledesigns.com
This is our Flower Flourish die.

Thursday, May 16, 2013

Crafty Little Designs

 I have put together a card using two of our dies and two of our stamps. Crafty Little Designs shown: Little Sarah stamp, Sentiments 1 stamp set, Flower Flourish die and Flower Border die.
 To create a prominent embossing effect, I ran it through my ebosser with an embossing pad before I ran it through to cut.
 I simply colored Little Sarah with Prismacolor colored pencils. The sentiments, I colored with Marvy Markers, rather than using an ink pad.
You can purchase these at http://www.craftylittledesigns.com
Like us on Facebook at http://www.facebook.com/craftylittledesigns

Welcome to Crafty Little Designs Blog

I have just recently open up my online store. www.craftylittledesigns.com
Here on my blog I will show you the things my designs team and myself can create with my designs. Stay tuned for projects, as I am just getting my business started.